Feedback / Microphone
What is feedback and how does it occur?
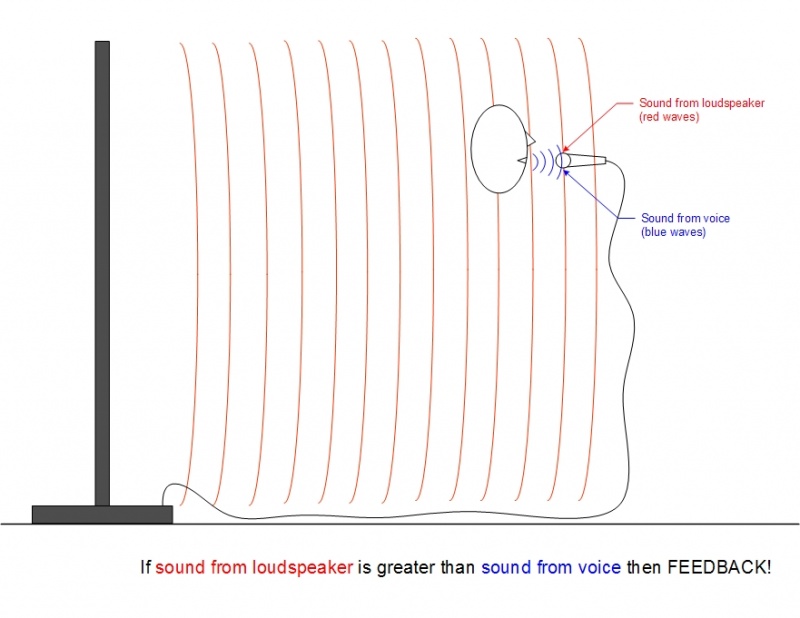
Feedback occurs when the sound from the loudspeaker (or loudspeakers if a microphone is connected to more than one) is louder at the microphone than the sound of the voice.
This fundamental fact is shown in the figure below. Note that in the diagram an L1 system is shown but the same fundamental fact is true for ANY loudspeaker.
If you understand this diagram, it is relatively easy to understand how changes in an amplification system and room can contribute to either increasing or decreasing the likelihood of feedback.
Techniques For Reducing Feedback
Gain Staging
Your setup should always begin with good gain staging.
Take two minutes to watch this video by clicking on the picture below.
Gain setup for a vocal microphone
- If you are using an L1 Classic or L1 Model I follow the instructions exactly as shown in the video.
- If you are using the T1 ToneMatch Audio Engine, the principles are the same as shown on the video: simply substitute the trim on the T1® for the trim on the Classic or Model I.
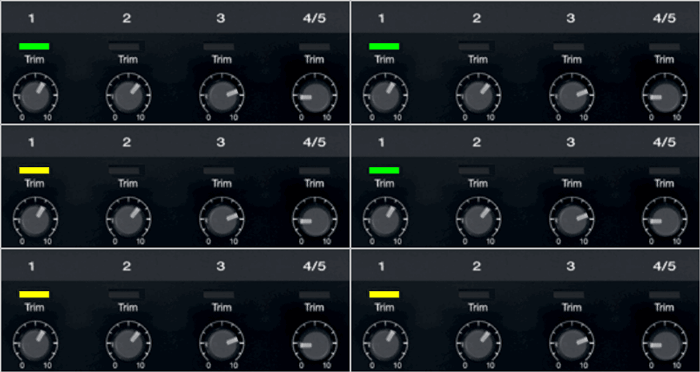
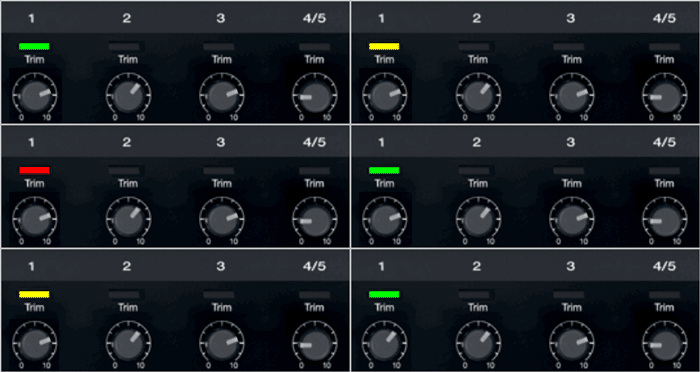
The colors on the T1® are a little different because the T1® trim uses 3 colors. You want to have a good solid green signal with occasional flickers of yellow.
If you are seeing flickers of red, turn down the trim.
Close Microphone Technique
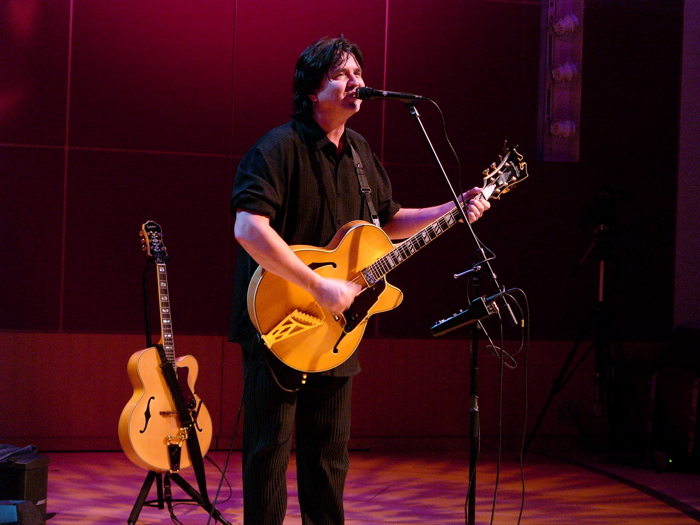
Get close to the microphone when you want to be loud. No other technique has a big an impact on feedback. Each halving of distance is approximately another 6 dB of gain before feedback. This relationship in physics is known as the Inverse Square Law. This means that the difference between working a microphone at 2 inches, and 1/4 inch is 18 dB, which is more than twice as loud. While good mic technique often involves "working" the microphone at different distances, singers must be mindful of the fact that small changes in distance from the mouth result in very dramatic changes in sound level.
In the feedback diagram at the top, getting close to the microphone means getting more sound from voice which translates to more gain without feedback.
Vocal Strength
In the feedback diagram at the top, it is clear that other things being equal, vocal strength related directly to how loud a system will play before feedback. Said another way, a low-output singer is more likely to experience feedback for a given desired level in the room than a high-output singer.
Directional Microphones
Use a directional microphone. Hypercardioid is better than cardioid, which is better than omnidirectional. All sound waves impinging on the microphone from a direction other than the intended signal is "noise" and will lower the threshold of feedback.
Directional microphones "collect" less sound from directions other than what they're supposed to amplify (the voice, or an instrument) and hence are less likely to feed back.
In addition, most directional microphones have a strong behavior called proximity effect. This is the strong buildup of bass and low-mid response as the source (say the voice) to microphone distance decreases. For microphones intended to sound natural when the voice is very close -- say one of a number of popular stage vocal microphones -- what this means is that low-to-middle frequencies from sources at a distance, including loudspeakers being used to amplify the voice, are largely rejected by the microphone. This is a real plus in terms of avoiding microphone feedback.
Conversely, an omnidirectional microphone (equal sensitivity to sound coming from any direction) has no proximity effect. This is an advantage often in the studio where the engineer wants consistent tone regardless of distance. But it's a disadvantage on stage in terms of feebdack. An omnidirectional mic collects more sound that's not the target, and because it has no proximity effect is more susceptible to feedback at low-to-mid frequencies than a directional mic.
Effects
If you are using vocal effects like compression, reverb, chorus or delay, turn them off until you can get sufficient gain before feedback to get performance level volume. Then add the effects back into the signal chain (one at a time) so you can be aware of the individual impacts that each effect is having on feedback.
Open Microphones
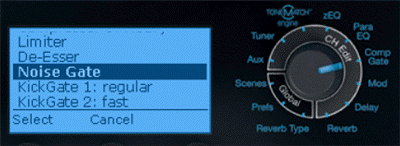
Use as few open microphones as possible. When a microphone is not in use, if possible, turn it off. If you have a T1 ToneMatch Audio Engine consider using the noise gate to do this automatically.
- Gain-before-feedback decreases by 3dB every time the number of open (active) microphones doubles. ... This is why the number of microphones should be kept to a minimum and why unused microphones should be turned off or attenuated. — Source Microphones Techniques for Live Sound Reinforcement page 20
EQ and Tone Controls
Use the high-frequency tone control for the microphone channel carefully. Feedback could occur when this is set too high.
Instrument Pickups
Wherever possible, acoustic instruments should use pickups instead of microphones. Pickup systems provide much higher gain before feedback than microphones.
Using pickup can overcome the struggle to keep a consistent and close distance between the microphone and an instrument. Also, an instrument can be a source of feedback as it resonates with the amplified sound.
Distance Between Microphones
Another (low priority) design guide-line could be to keep open microphones as far apart as possible. Neighboring systems with open microphones can mutually decrease gain before feedback.
Techniques specific to the L1 family of products
The Benefit of ToneMatch Presets
A microphone that is not tonally balanced requires expertise and sophisticated equipment to equalize optimally. ToneMatch takes the guesswork out of getting studio-quality sound from a microphone connected to an L1 system. Equalization attempted by those not necessarily skilled in the art, or with tone controls that are not sophisticated enough, can leave peaks in the tonal response of the microphone -- peaks that are more likely to invite feedback.
For this reason, whenever possible, use a microphone with a ToneMatch preset.
Tilt the Mic Up
- All players should be playing / singing through the L1 closest to them.
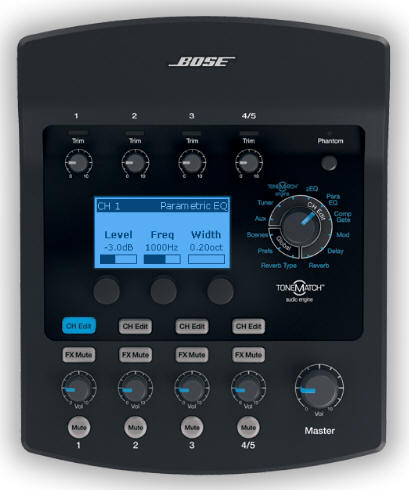
- If you are using a T1 ToneMatch Audio Engine it is often possible to use the parametric EQ section to notch the frequency that is causing feedback. You can find details in the article: Using the T1® to Control Microphone Feedback
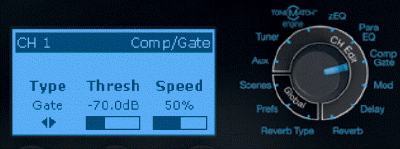
- If you are using a T1 ToneMatch Audio Engine try using the Comp Gate section to effectively turn off microphones that aren't being used. You can find details in the article: Feedback / T1 ToneMatch® Audio Engine / Comp Gate
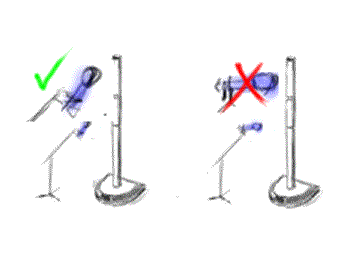
- When stand mounting a directional microphone, tilt the microphone up ten or twenty degrees off the horizon so that it is less sensitive to direct sound from the speakers.
- In the feedback diagram at the top, using a directional microphone tilted up and away from the Cylindrical Radiator® means getting less sound from the loudspeaker which translates to more gain without feedback.
- Note: with the Compact be careful that you are NOT pointing the microphone directly at the Speaker Array.
Use the T1 ToneMatch Audio Engine Comp Gate to mute the microphone
Use the CompGate - Noise Gate to effectively mute the microphone when there is not a strong vocal.
You will have to experiment to find the best setting.
From the Bose® Pro Portable PA Community
It seems so obvious now that the Noise Gate is the answer; still, your post prompted my epiphany. We play electric and definitely louder than an acoustic act. (ex: I use either two customized Blues Jr's in stereo, my '65 Super Reverb, or my ProTube Twin Amp on stage) The tonematch's Noise Gate solved the feedback resulting form my need to push the vocal mike to the max. Also, I don't have to stand in between the microphone and the Bose to avoid that ensuing ring. The band was awestruck by my the improvement in my "mixing prowess". Of course, I didn't tell them that you cued me in. Thanks, (and don't tell anyone you told me, ha!)
Feedback Problems - Esparka
Use the T1 ToneMatch Audio Engine ParaEQ to notch out a problem frequency
The technique takes some practice and experimentation. But the effort is worth it because the technique can be used in many different situations.
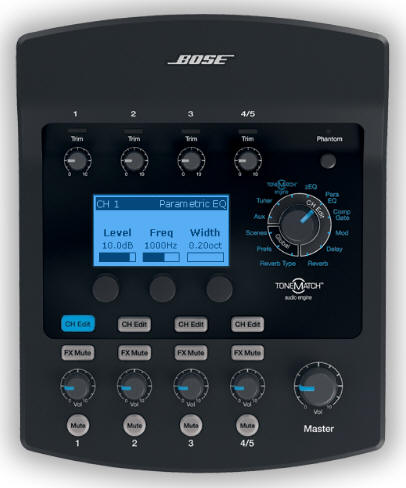
You'll be using the parametric equalizer on the T1 ToneMatch Audio Engine to improve vocal microphone feedback. The parametric equalizer has a frequency adjustment to select the pitch (note) you want to shape, and a boost or cut adjustment to increase or decrease that pitch like a regular tone control. It also has a bandwidth knob, to set how wide a range of pitches around the single pitch you are adjusting.
- Turn the volume down on the microphone channel; mute any other microphone channels.
- Set the Para EQ Level to 10 dB boost (boost, not cut)
- Set the Para EQ Width to 0.20 oct
- Slowly turn up the volume of the microphone creating feedback to just before feedback. You'll probably start to hear the pitch that feeds back but don't let the feedback start.
- Start changing the Para EQ frequency control. At some point, the system will begin to feedback on the same pitch you were hearing without the boost. With some tuning and listening, you now have the Para EQ frequency set to the same (or very nearly the same) frequency causing feedback. You may need to change the volume of the microphone channel to avoid going into loud feedback.
- Change the ten dB boost to a cut, to notch out the frequency. Start with a cut of about 3 dB and use more only if necessary. That microphone should now be able to be used with less feedback.
If there are multiple microphones in the system you may find that the whole system feeds; if so, repeat this procedure for the other microphones (muting the other microphones while adjusting the Para EQ on one of them).
Once you know the frequency for one microphone (and the T1 tells you this in Hz), you can start by applying the same notch to other microphones -- but you may find that some adjustments are needed for each due to differences in the microphones and their different locations.
How much does this hurt the sound? You should experiment a little, since -- it depends. The notch will have different effects on the tone depending on how deep it is (how much you cut), how wide it is (keep it as narrow as you can), and where it is relative to your voice or instrument. Use your ears to tell you if you've gone too far.
This technique was described in a field report by Bill-at-Bose.
Here is a video about the relationship between the ToneMatch Presets, zEQ, ParaMetric EQ.
Does Microphone Sensitivity Affect Feedback?
It is a common misconception that a microphone that has lower sensitivity (in other words, a sound of a given intensity at the microphone produces a lower electrical signal than a microphone of higher sensitivity) is somehow more susceptible to microphone feedback.
In the argument that follows, the assumption is that other variables in comparing two microphones are equal. In other words, only the sensitivity differs.
Feedback occurs when the sound from the loudspeaker (or loudspeakers if a microphone is connected to more than one) is louder at the microphone than the sound of the voice.
If you just decrease the microphone sensitivity, the sound from the loudspeaker goes down by the amount of the sensitivity reduction.
If you restore the level from the speaker by adding more gain at any trim or volume control, the difference between the level of the speaker at the microphone and from the voice is restored.
When the added gain exactly compensates for the reduced microphone sensitivity we have the same difference as before. If the microphone fed back at a certain level in the room before, it will do so again at the same level in the room. This is obscured by the other variables that tend to change when we pick a microphone with a different sensitivity: different microphone frequency response and polar pattern details, different placement, etc.
The only way to get more gain before feedback is to lower the strength of the feedback path (the path between the speaker and microphone ) while the feed-forward path (the path from the voice to the microphone ) has the same gain. The microphone has to be in a quieter part of the sound system’s coverage or the microphone has to be directionally resistant to the speaker’s sound field compared to how well it picks up the desired input.
So it all comes down to one thing: when there is enough loudness in the room, how much better can the microphone hear the desired source than it hears the sound system? Sensitivity doesn't enter into this equation.
Picking a Microphone
For the best feedback performance, choose a directional microphone that has a ToneMatch preset.
Feedback Destroyers
Other References
- Microphone Techniques for Live Sound Reinforcement Shure Educational Publication 2006 39 pages - pdf format
- Vocal Miking Problems and How To Solve Them
- Debunking Common Audio Myths (related to microphones)
- Vocal and Guitar Performance Techniques - article by L1® Community Expert, Tom Munch
